
Makeup Drawer Organization Ideas That Stay Easy to Use
A practical makeup-drawer system built around daily use, product categories, clean tools, shallow dividers and a simple reset so the drawer stays useful after the first week.
A makeup drawer can look perfectly organized on day one and become a jumble by Friday if the compartments were chosen for appearance instead of the order you actually reach for products.
Part of the By Sady guide Vanity Organization Ideas for Small Spaces →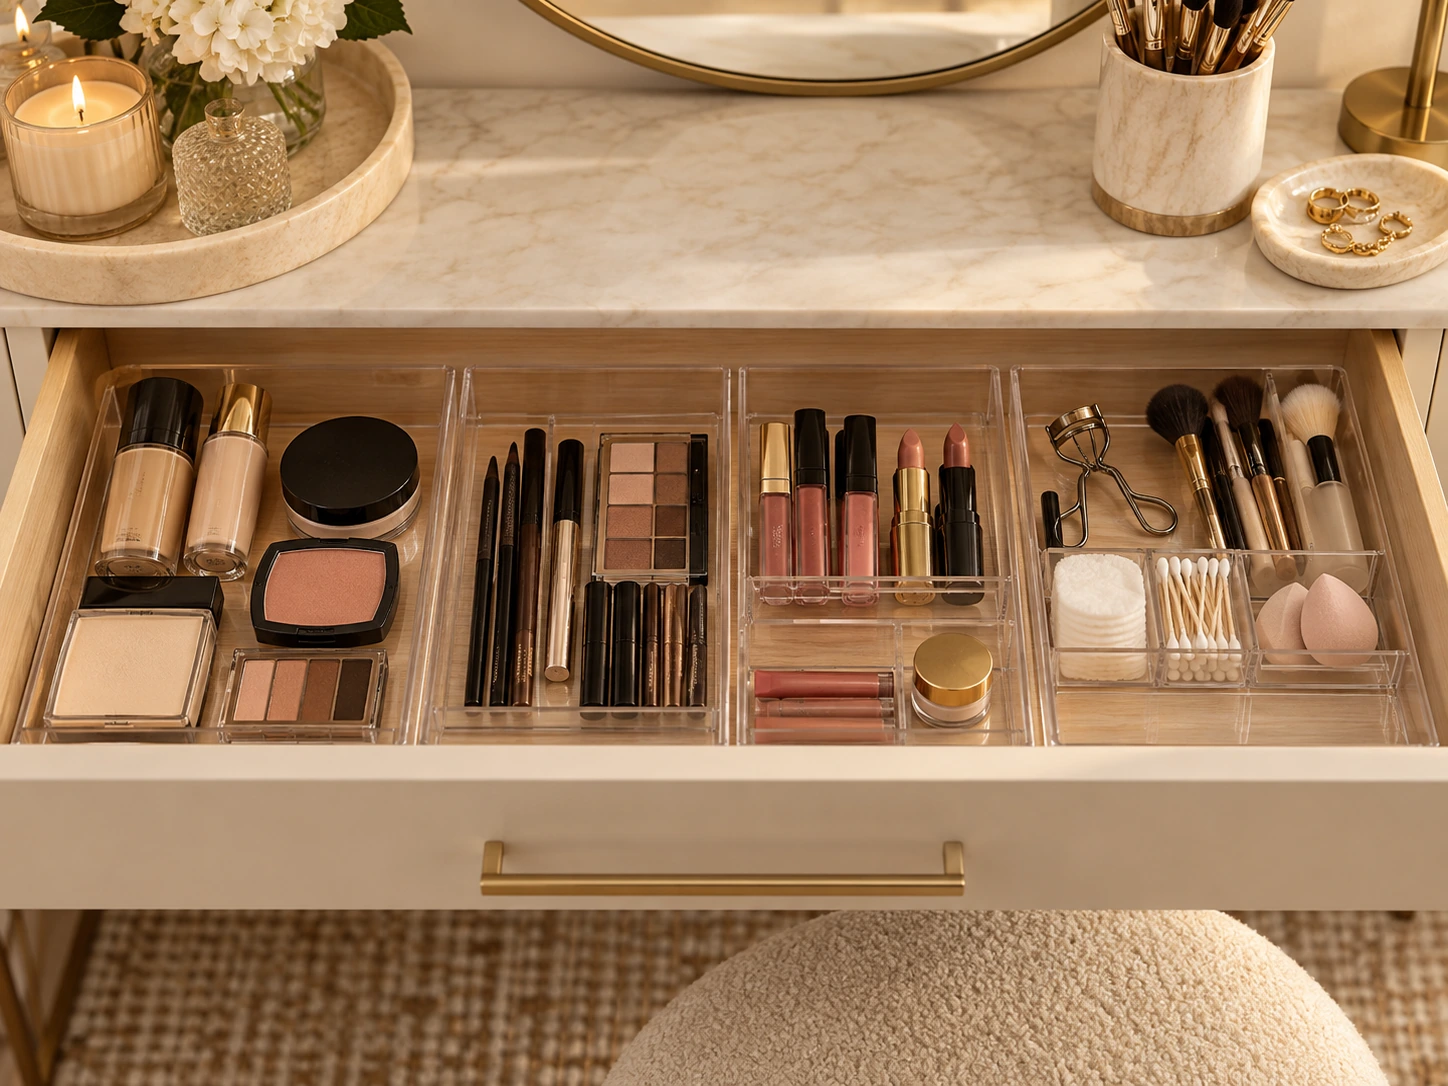
What matters most
- 01
Edit expired, duplicate and unused products before measuring organizers.
- 02
Group the drawer by the sequence of the routine instead of by packaging color.
- 03
Use shallow dividers so the second layer does not disappear underneath the first.
- 04
Keep brushes, sponges and products waiting to be cleaned separate from clean tools.
- 05
Leave a little spare capacity so new products do not immediately break the system.
Empty the drawer before buying dividers
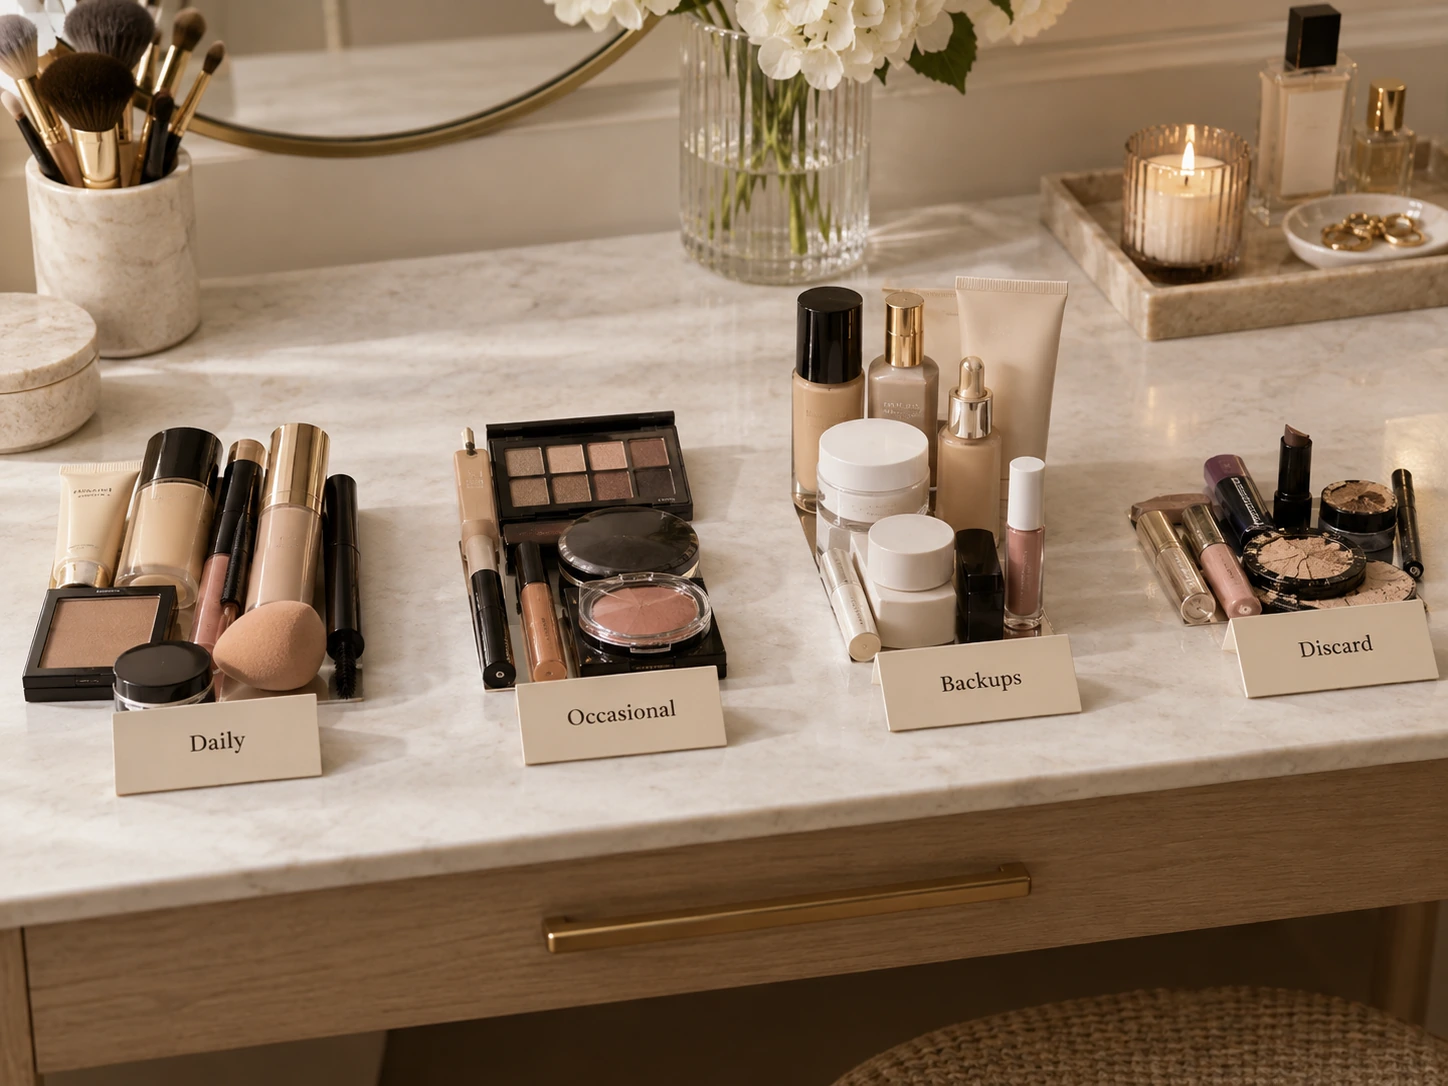
The drawer should be organized around what deserves to remain, not around the dimensions of a preselected organizer. Empty everything, wipe the interior and group products into daily use, occasional use, backups and items that need to be discarded.
The American Academy of Dermatology notes that makeup does not last indefinitely and that storage and use habits affect how long products remain suitable. FDA similarly notes that heat, moisture, air exposure and consumer handling can affect cosmetic shelf life.
Editing first prevents an organizer from becoming a permanent home for old products that should have left the drawer.
Measure the clear interior, not the outside of the drawer
Record the usable width, depth and height after accounting for drawer sides, rails and any internal lip. Then measure the tallest products that need to lie flat or stand upright.
Shallow drawers usually work better with low trays and dividers that keep products in a single visible layer. Deep bins can create hidden second layers where products are forgotten until they are too old to use.
Before ordering a modular system, use paper or cardboard rectangles to test the proposed zones inside the drawer.
- Measure the narrowest usable width and depth inside the actual drawer.
- Check the lowest closing height beneath rails, lips and other obstructions.
- Use organizer outside dimensions, including raised rims or handles.
- Try paper rectangles in both orientations before purchasing trays.
- Leave room to lift out the daily products without unloading nearby sections.
- Close the drawer slowly with the proposed arrangement in place.
Compare the drawer's usable inside measurements with an organizer's actual outside size and print your buying checklist.
Read the guide →Group by the order of the routine
A useful drawer follows hand movement. Base products can sit together, eye products in the next zone, lips in another and tools nearby. This reduces the amount of searching and prevents categories from spreading across the full width.
If you use only three products every weekday, give those products the easiest access even if their categories are different. Frequency outranks the theoretical purity of the organizer.
The drawer should make the next step obvious when you are half awake or in a hurry.
Keep daily use separate from backups
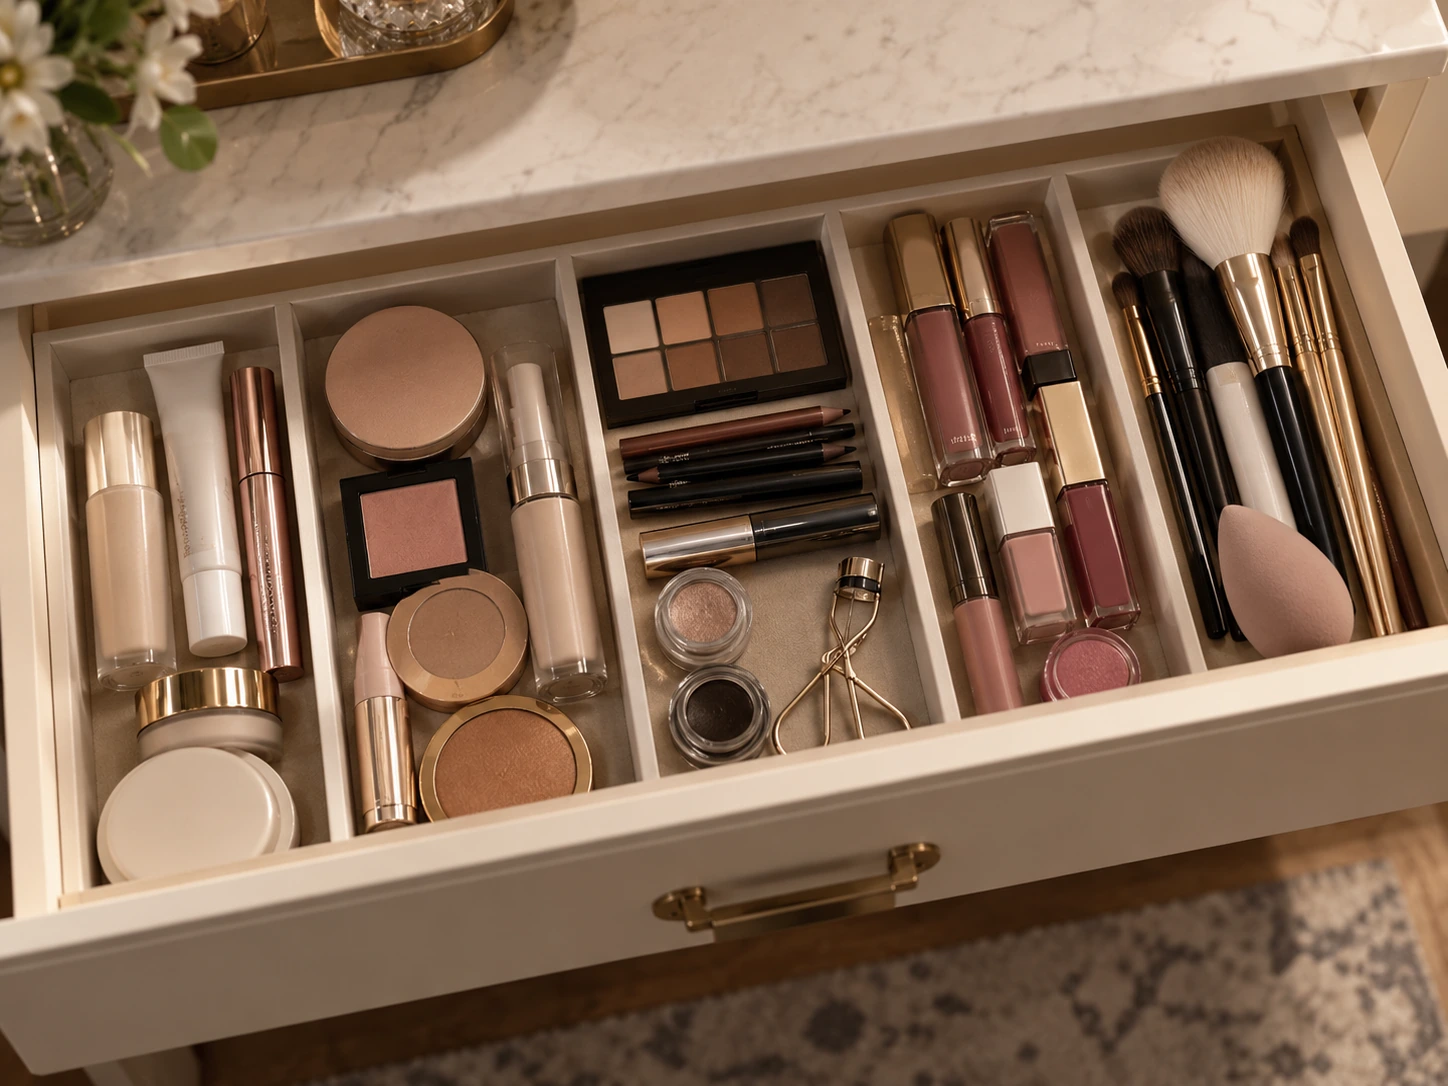
Backups and unopened duplicates consume prime drawer space without helping the morning routine. Move them to a secondary cabinet, box or clearly labeled backstock area.
This also makes it easier to see how quickly a category is being used. When the active product is almost finished, bring forward the replacement instead of storing both in the same front-row zone.
If the vanity has only one drawer, a small back section can hold one immediate replacement, but bulk stock should live elsewhere.
Use shallow dividers instead of a grid of tiny boxes
Too many small compartments make the system brittle because every new product has to fit an exact slot. Use larger category zones where different shapes can coexist without stacking.
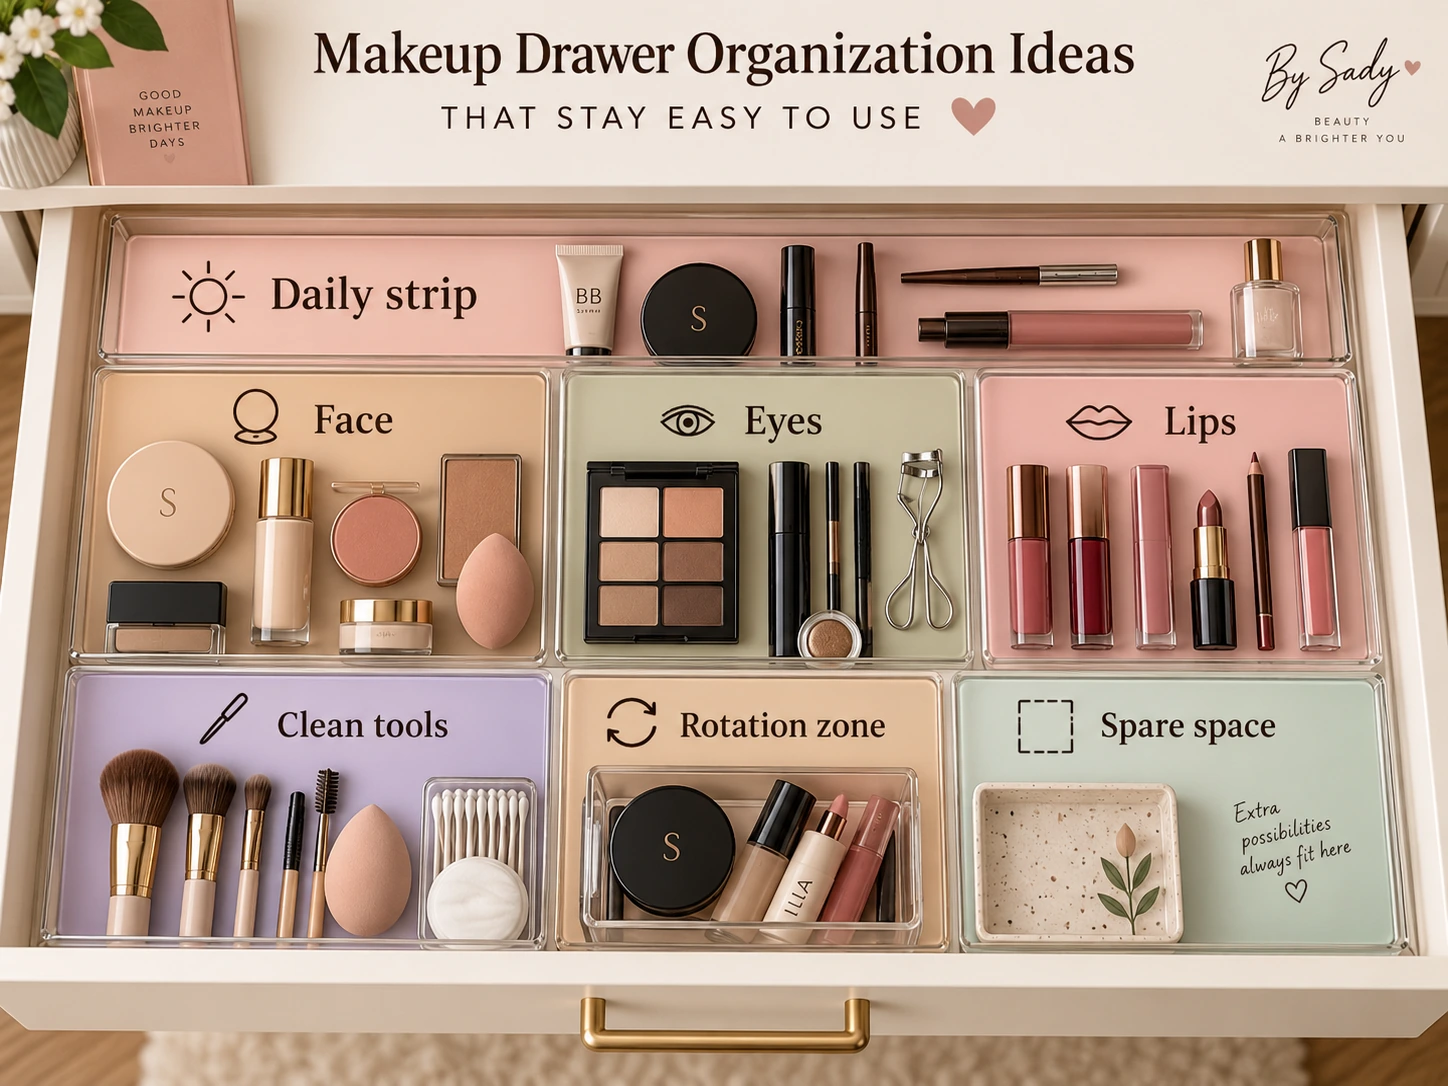
A few long dividers are often enough: one for face products, one for eyes, one for lips and one for tools or extras. The goal is separation and visibility, not a perfect geometric photograph.
Leave one flexible section for products that rotate seasonally or change shape.
| Drawer zone | Best for | Avoid | Why |
|---|---|---|---|
| Daily strip | Products used most mornings | Backups and experiments | Fastest access |
| Face | Foundation, concealer, powder, blush | Deep stacking | Easy category scan |
| Eyes | Palettes, liner, mascara, brow | Loose sharp tools | Keeps small products contained |
| Lips | Lipstick, liner, balm | Mixed sample packets | Prevents small tubes disappearing |
| Tools | Clean dry tools and small applicators | Used or damp tools | Separates maintenance from product |
Keep clean tools separate from used tools
A beautiful drawer is not useful if clean brushes and used tools are mixed together. Give clean tools a dry, protected zone and create a separate place for brushes or sponges waiting to be washed.
AAD recommends washing makeup brushes every 7 to 10 days and drying washed brushes flat with the tips hanging off the edge rather than upright where water can run into the ferrule. That cleaning routine should inform where tools wait before and after washing.
Do not return damp brushes to a closed drawer simply because that is their normal storage location.
Continue with this part of the plan Build the brush system: Makeup Brush Storage IdeasSeparate clean, used, drying and travel brushes so storage supports the maintenance routine.
Read the guide →Store cosmetics clean, dry and away from unnecessary heat
AAD recommends keeping cosmetics in a dry, clean space at room temperature and away from direct sunlight. FDA likewise notes that moisture, heat and temperature changes can affect cosmetic products and their preservatives.
That means the prettiest drawer location is not automatically the best one if it sits beside a radiator, in direct sun or in a very damp environment. Follow the product manufacturer’s specific storage directions when they are provided.
Close lids and caps securely before returning products to the drawer so leaks do not turn the organizer into a cleaning problem.
Give small items a visible edge
Lip liners, brow pencils and small tubes disappear because they sit below larger products. Use a narrow channel or shallow cup laid inside the drawer so those items stay visible without standing upright.
Keep similar lengths together and avoid overfilling the compartment. If the pencils have to be stirred like a jar every morning, the category needs editing or a second zone.
Sharp tools should be capped or stored so the working end is protected.
Create one temporary zone for products in rotation
Seasonal shades, a new product being tested or a special-event palette should not require rebuilding the whole drawer. Reserve one flexible area for temporary rotation.
When the trial period ends, decide whether the product joins the daily category, moves to occasional storage or leaves. This prevents the flexible zone from becoming a permanent miscellaneous box.
A small removable tray works well because the entire temporary category can be lifted out and reviewed at once.
Leave spare capacity on purpose
An organizer packed to 100 percent capacity fails as soon as one new item enters the routine. Leave a little open space in each major category or one flexible section for growth.
Spare capacity also makes cleaning easier because products can be shifted without emptying the entire drawer. A drawer that is slightly under-filled usually stays organized longer than one optimized to the last centimeter.
Handle palettes and irregular shapes without wasting the drawer
Large palettes and unusually shaped products can break a neat grid because they consume several small compartments at once. Give them one broader zone instead of forcing them into dividers designed for tubes and compacts.
Store the most-used palette where it can lift out in one motion. Move rarely used oversized pieces to a secondary drawer or upright file if the packaging can be stored that way without damage.
If one category requires half the drawer but is used only occasionally, the problem is category placement rather than a lack of organizer capacity. Prime space should follow frequency of use.
Use a two-minute reset instead of a full reorganization
At the end of the routine, return products to their broad category zones, close caps and move used tools to the wash-next area. The reset should take less time than searching through an unorganized drawer tomorrow.
Once a month, remove obvious empties, expired items, dried products and samples that are not being used. If one category repeatedly overflows, edit it before adding another organizer.
- Expired, changed or unused products have been removed.
- The drawer is measured before inserts are purchased.
- Daily products get the easiest access.
- Backups live outside the active drawer.
- Most products stay in one visible layer.
- Clean and used tools are separated.
- Cosmetics stay clean, dry and away from unnecessary heat and direct sun.
- One flexible rotation zone is available.
- The drawer has spare capacity and a fast reset.
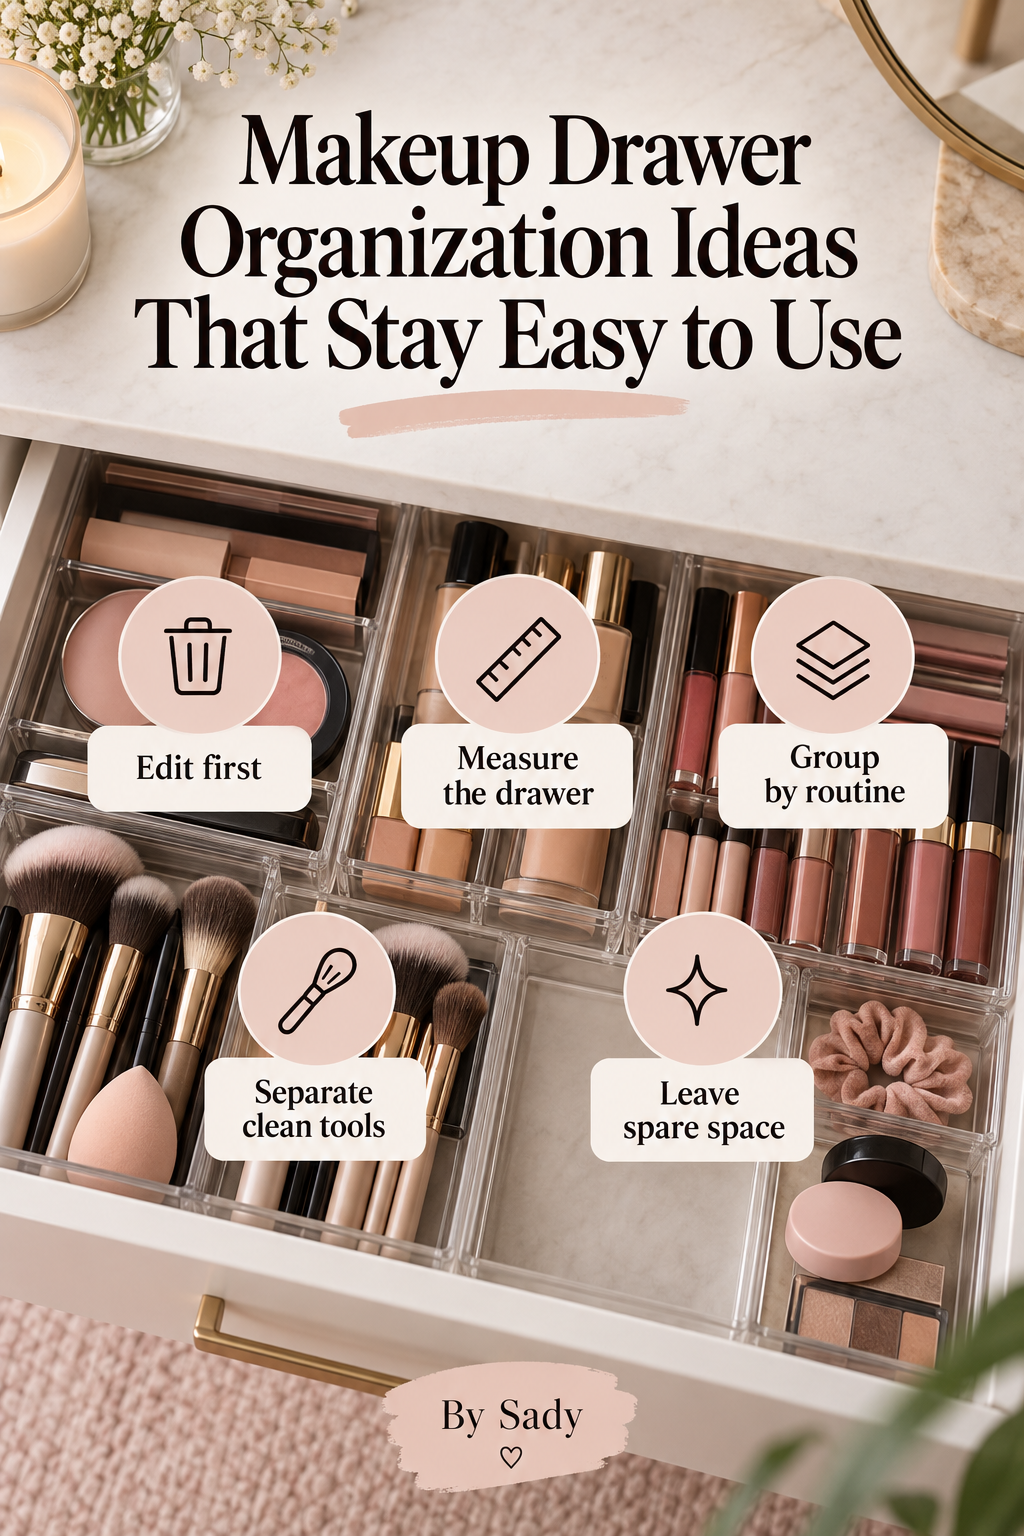
Keep the visual summary.
This is the condensed version of the guide, useful when you are planning, comparing options or returning to the key decisions later.
Where the measurable guidance comes from
By Sady's styling advice is editorial. Where this guide uses measurements or specific planning guidance, these are the references used. Always measure your own room and follow local electrical and building requirements.
- American Academy of Dermatology: When to toss your makeup and sunscreen
Dermatologist guidance on cosmetic lifespan, keeping products in a clean dry space at room temperature and away from direct sunlight, and keeping tools clean.
- American Academy of Dermatology: How to clean your makeup brushes
Dermatologist guidance on washing brushes regularly and drying them flat rather than upright.
- U.S. FDA: Shelf Life and Expiration Dating of Cosmetics
Primary regulatory reference on how moisture, heat, sunlight, air exposure and consumer use can affect cosmetic shelf life.
Relevant finds from this guide.
Vtopmart 25-Piece Clear Drawer Organizer Set
Four sizes of shallow clear trays for separating makeup, brushes, jewelry and small daily-use items.
More from Vanity & Organization.
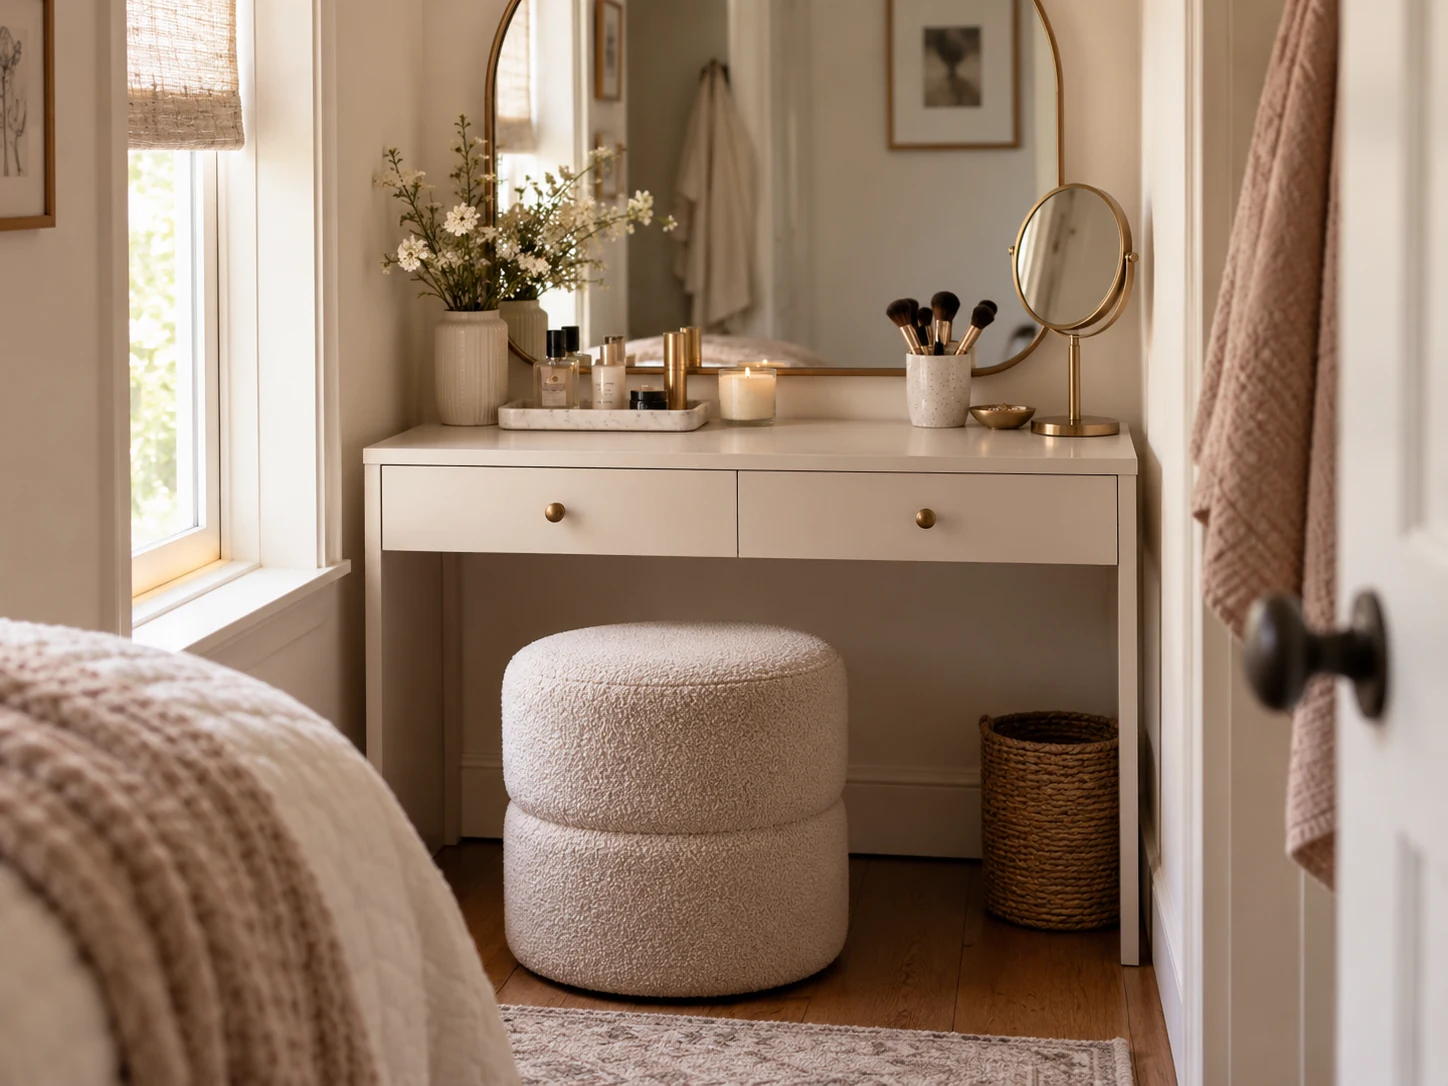
Vanity Organization Ideas for Small Spaces
A practical vanity-organization plan for small bedrooms and bathrooms: decide what deserves surface space, build storage around the routine, and keep beauty products easy to use without turning the vanity into display clutter.
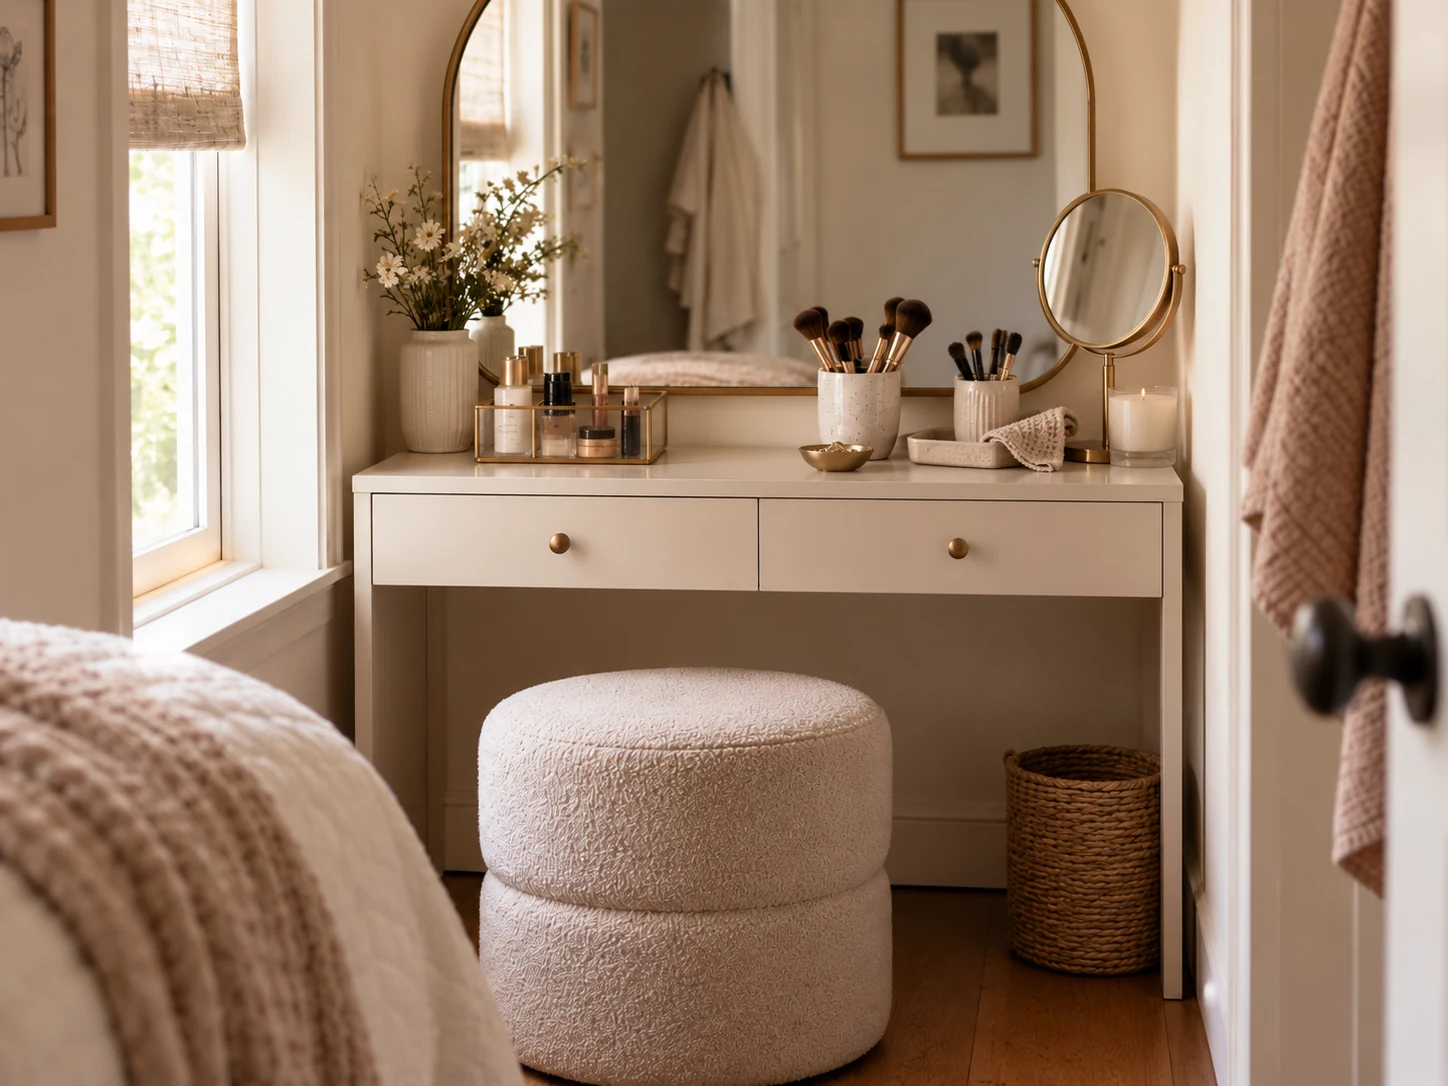
Makeup Brush Storage Ideas That Keep Your Vanity Tidy
Practical makeup-brush storage for small vanities: separate clean from used tools, protect bristles, simplify daily access and keep the setup easy to clean.
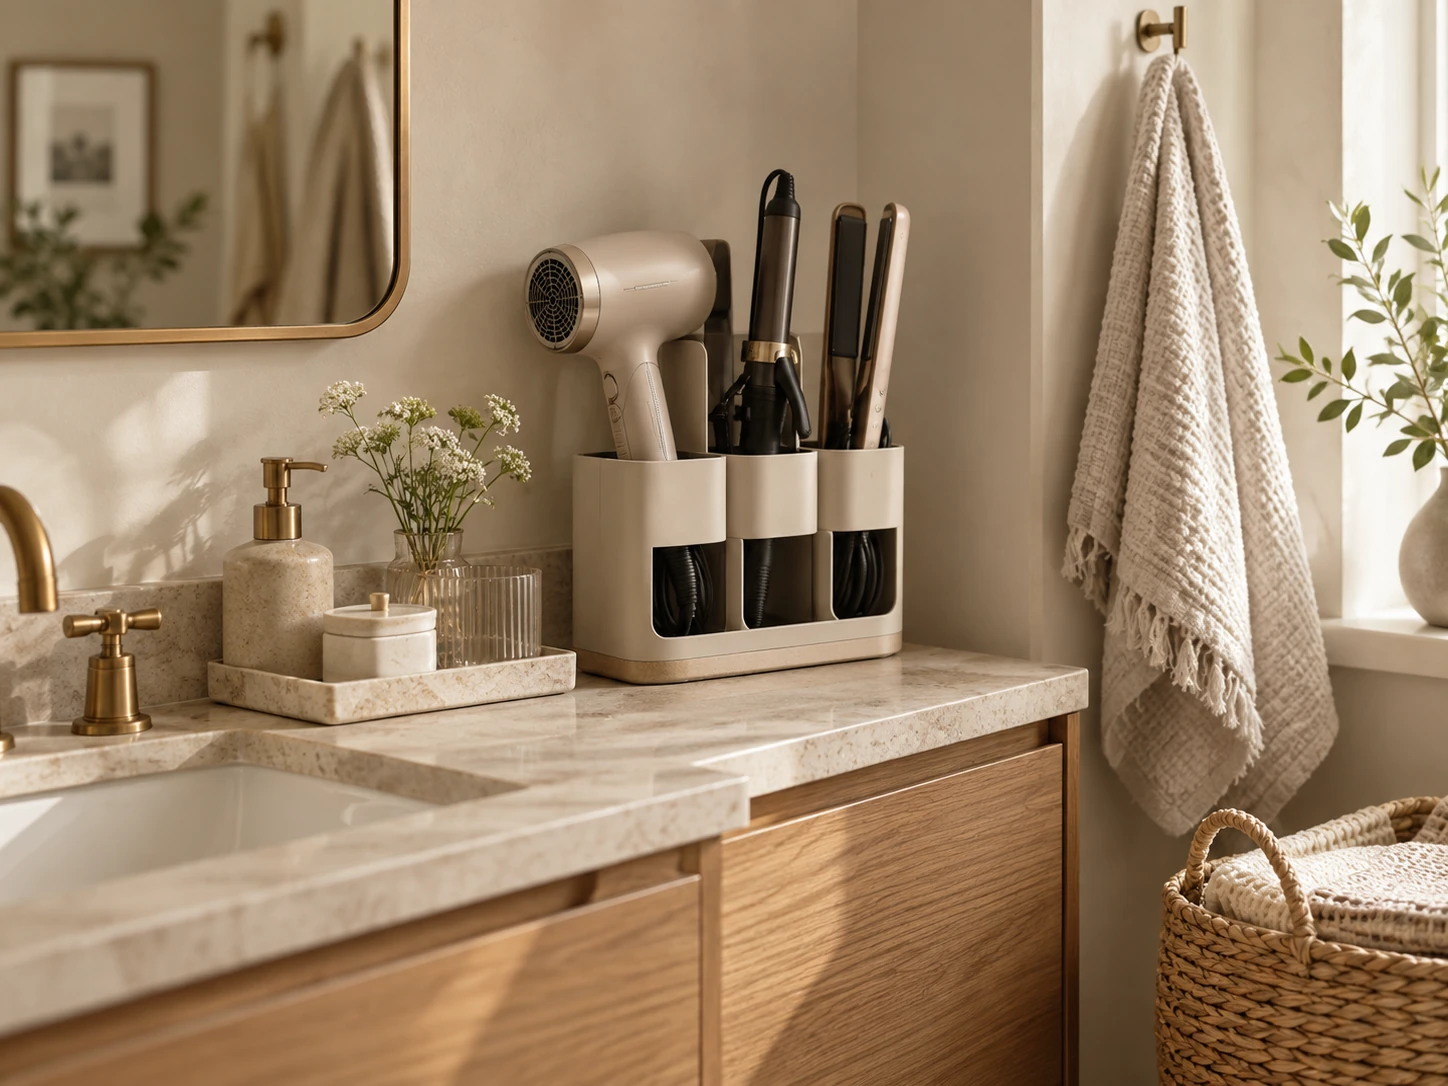
Hair Tool Storage Ideas for Small Bathrooms and Vanities
Store hair dryers, straighteners and curling tools without giving up the whole vanity. A small-space plan for cords, cooling tools, drawers, wall storage and electrical safety.